The world of music production has undergone a revolution in recent years, with home recording studios becoming increasingly popular and accessible. This shift has empowered musicians, podcasters, and content creators to produce high-quality audio from the comfort of their own homes. A well-equipped home studio offers unparalleled creative freedom, flexible scheduling, and the ability to experiment without the pressure of expensive studio time.
In this comprehensive guide, we’ll explore the essential components needed to set up a functional and efficient home recording space. From the foundational hardware to acoustic treatment techniques, we’ll cover everything you need to know to start capturing professional-quality sound.
The Foundation: Hardware Essentials
Computer and DAW (Digital Audio Workstation)
At the heart of any modern home studio lies a powerful computer and Digital Audio Workstation (DAW) software. These two components work in tandem to form the central hub of your recording and production process.
Computer Requirements:
- Processor: Multi-core CPU (Intel i5/i7 or AMD Ryzen 5/7)
- RAM: Minimum 8GB, recommended 16GB or more
- Storage: Fast SSD for system and projects, large HDD for sample libraries
- Operating System: Windows 10/11 or macOS (Catalina or later)
Popular DAW Options for Beginners:
| DAW | Platform | Best For |
| GarageBand | macOS, iOS | Beginners, Apple ecosystem |
| Audacity | Windows, macOS, Linux | Basic recording, free option |
| Reaper | Windows, macOS | Affordable, customizable |
| FL Studio | Windows, macOS | Electronic music production |
| Ableton Live | Windows, macOS | Electronic and live performance |
Choose a DAW that aligns with your musical style, budget, and computer platform. Many offer free trials, allowing you to experiment before committing to a purchase.
Audio Interface
An audio interface serves as the bridge between your analog audio sources (microphones, instruments) and your computer’s digital environment. It converts analog signals to digital data that your DAW can process and record.
Key features to consider when choosing an audio interface:
- Number of inputs/outputs
- Preamp quality
- Sample rate and bit depth support
- Low-latency monitoring options
- Compatibility with your computer and DAW
Popular entry-level audio interfaces include the Focusrite Scarlett 2i2, PreSonus AudioBox USB 96, and Behringer U-Phoria UMC202HD.
Microphones
Microphones are crucial for capturing high-quality audio in your home studio. The two main types you’ll encounter are:
- Condenser Microphones: Known for their sensitivity and detailed sound capture, ideal for vocals and acoustic instruments.
- Dynamic Microphones: Rugged and versatile, suitable for loud sources like drums and guitar amplifiers.
For a versatile home studio setup, consider starting with a large-diaphragm condenser microphone for vocals and acoustic instruments, and a dynamic microphone for more aggressive sources.
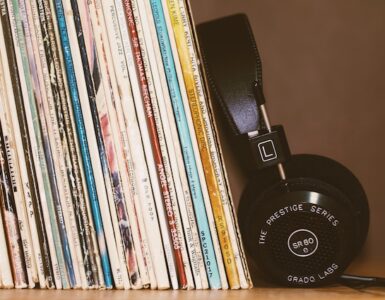
Headphones and Studio Monitors
Both headphones and studio monitors play essential roles in the recording and mixing process:
Headphones:
- Closed-back: Ideal for recording, as they prevent sound leakage
- Open-back: Better for mixing, offering a wider soundstage
Studio Monitors:
- Provide a flat, uncolored representation of your mix
- Essential for accurate mixing and mastering
When starting out, invest in a good pair of closed-back headphones for recording and critical listening. As your skills and budget grow, add a pair of nearfield studio monitors for more accurate mixing.
Capturing Your Sound: Microphones and Instruments
Choosing the Right Microphone
Selecting the appropriate microphone for your recording needs involves considering several factors:
- Budget
- Recording style
- Instrument type
- Vocal characteristics
- Room acoustics
Here’s a quick guide to microphone recommendations for various sources:
- Vocals: Large-diaphragm condenser (e.g., Audio-Technica AT2020, AKG C214)
- Acoustic Guitar: Small-diaphragm condenser (e.g., Rode NT5, AKG P170)
- Electric Guitar Amp: Dynamic microphone (e.g., Shure SM57, Sennheiser e609)
- Drums: Combination of dynamic and condenser mics (e.g., Shure SM57 for snare, AKG C414 for overheads)
- Bass Guitar: Dynamic microphone or DI box (e.g., Sennheiser e602, Radial J48)
Essential Instruments (Optional)
While many home studio setups focus on recording live instruments, incorporating MIDI controllers and virtual instruments can greatly expand your creative possibilities:
- MIDI Keyboard: A versatile tool for playing and programming virtual instruments, synthesizers, and drum machines.
- Electronic Drums: Ideal for quiet practice and recording drum parts without disturbing neighbors.
- Virtual Instruments: Software plugins that emulate real instruments, synthesizers, and effects, expanding your sonic palette without the need for physical instruments.
Creating Your Recording Environment
Room Selection and Treatment
The acoustics of your recording space significantly impact the quality of your recordings. When selecting a room for your home studio, consider the following:
- Room size and shape
- Potential noise sources (traffic, HVAC systems)
- Natural reverberation
- Electrical outlets and ventilation
Once you’ve chosen a suitable space, implement basic acoustic treatment to improve sound quality:
- Absorption Panels: Place these on walls to reduce reflections and echo
- Bass Traps: Position in corners to control low-frequency buildup
- Diffusers: Scatter sound waves to create a more balanced acoustic environment
For a budget-friendly approach, consider DIY acoustic panels using rock wool insulation and fabric-wrapped frames.
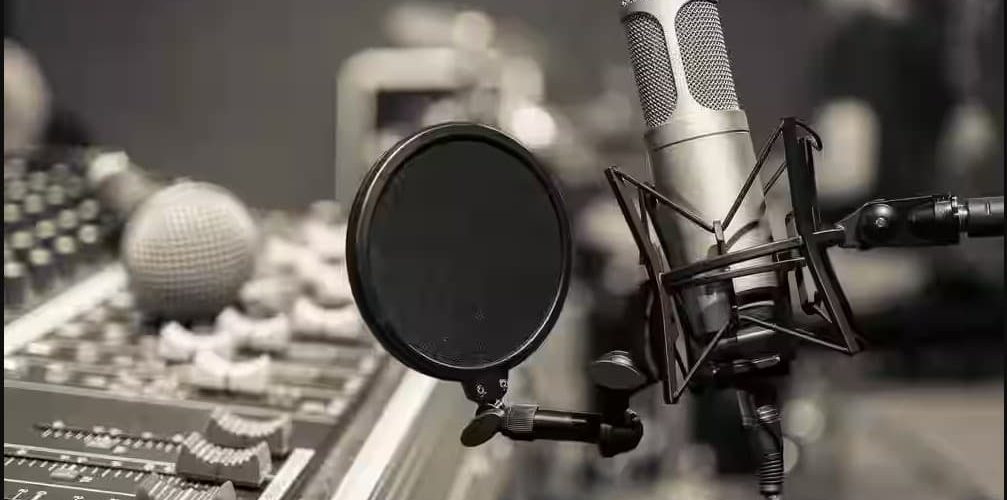
Microphone Stands and Pop Filters
Proper microphone placement is crucial for capturing clean, professional-sounding recordings. Invest in:
- Microphone Stands: Sturdy stands with adjustable arms for precise positioning
- Pop Filters: Placed between the vocalist and microphone to reduce plosives (hard “p” and “b” sounds)
These accessories ensure consistent microphone placement and help minimize unwanted noise in your recordings.
Expanding Your Toolkit: Additional Gear
As your skills and requirements grow, consider adding these items to enhance your home studio setup:
- MIDI Controllers: Hardware devices that allow hands-on control of your DAW and virtual instruments
- Audio Effects Processors: Hardware units for adding reverb, compression, or other effects to your signals
- Studio Furniture: Ergonomic desks and monitor stands to optimize your workspace
- Patchbay: Simplifies routing and connection of multiple audio devices
- Power Conditioner: Protects your equipment from electrical surges and reduces noise
| Gear Type | Purpose | Example Products |
| MIDI Controller | DAW/VI control | Akai MPK Mini, Novation Launchkey |
| Effects Processor | Signal processing | Universal Audio Apollo, Focusrite Clarett |
| Studio Furniture | Ergonomics | Output Platform, StudioRTA Producer Station |
Conclusion
Setting up a home recording studio is an exciting journey that opens up a world of creative possibilities. By focusing on the essential components outlined in this guide, you can create a functional and efficient workspace for producing high-quality audio.
Remember to start with the basics:
- A reliable computer and DAW
- A quality audio interface
- Versatile microphones
- Accurate monitoring solution (headphones and/or studio monitors)
- Basic acoustic treatment
As you gain experience and refine your skills, gradually expand your setup based on your specific needs and musical goals. Experiment with different microphone techniques, explore virtual instruments, and continually educate yourself on recording and mixing techniques.
The world of home recording is vast and ever-evolving. Stay curious, join online communities, and don’t be afraid to seek advice from more experienced producers. With dedication and practice, your home studio will become a powerful tool for bringing your musical visions to life.